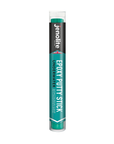
Holes can appear in wood for a variety of reasons. Some result from how the wood has naturally grown and others are caused by things like damage or incorrect drilling. Epoxy putty is the perfect tool for filling in holes in wood when you're looking to repair a structural defect, as it works like a natural wood by forming a polymer compound that cures to the same density as wood. It accepts different finishes, such as varnish, oil and paint, it dries very quickly and also dries without any shrinkage.
Watch: How to fix holes in wood with epoxy
The wood epoxy putty that we will discuss in this article effectively repairs cracks, holes and gaps on all types of wood and by-products. The application is very easy on any wood indoors and outdoors, and is incredibly resistant to shocks due to it's great structure. It also provides a hole repair that is very easy to sand, as it does not clog the abrasive bands thanks to extremely fine components.
In this blog post, we will be walking you through the steps in preparing wood holes for filling and then how to apply the epoxy to the hole.
Prepare the hole in the wood for filling
The first step to filling any holes in wood is to correctly prepare the hole, because any rotten wood still left in the hole will not allow the epoxy filler to work correctly, and will not fully fill the hole.
Firstly, it is vitally important to properly control the humidity contained in the wood, making sure that the water content does not exceed more than 20% when treating the material. This is an often overlooked step that is very important to filling holes in wood, due to the fact that if the substrate is too saturated with water, there is a higher risk of shrinkage, warping, cracking or splitting the wood.
The next step is to clear out any rotten wood around the hole until you reach sound wood. It is better to remove too much rotten wood than not enough, because if the rot is not properly removed, the deterioration may start again after the repair.
The last step in preparation is to fully degrease the surface of the wood. This is to prevent the wood being too oily, because a clean block of wood greatly facilitates the penetration of the upcoming treatment.
How to fill a hole in wood with epoxy
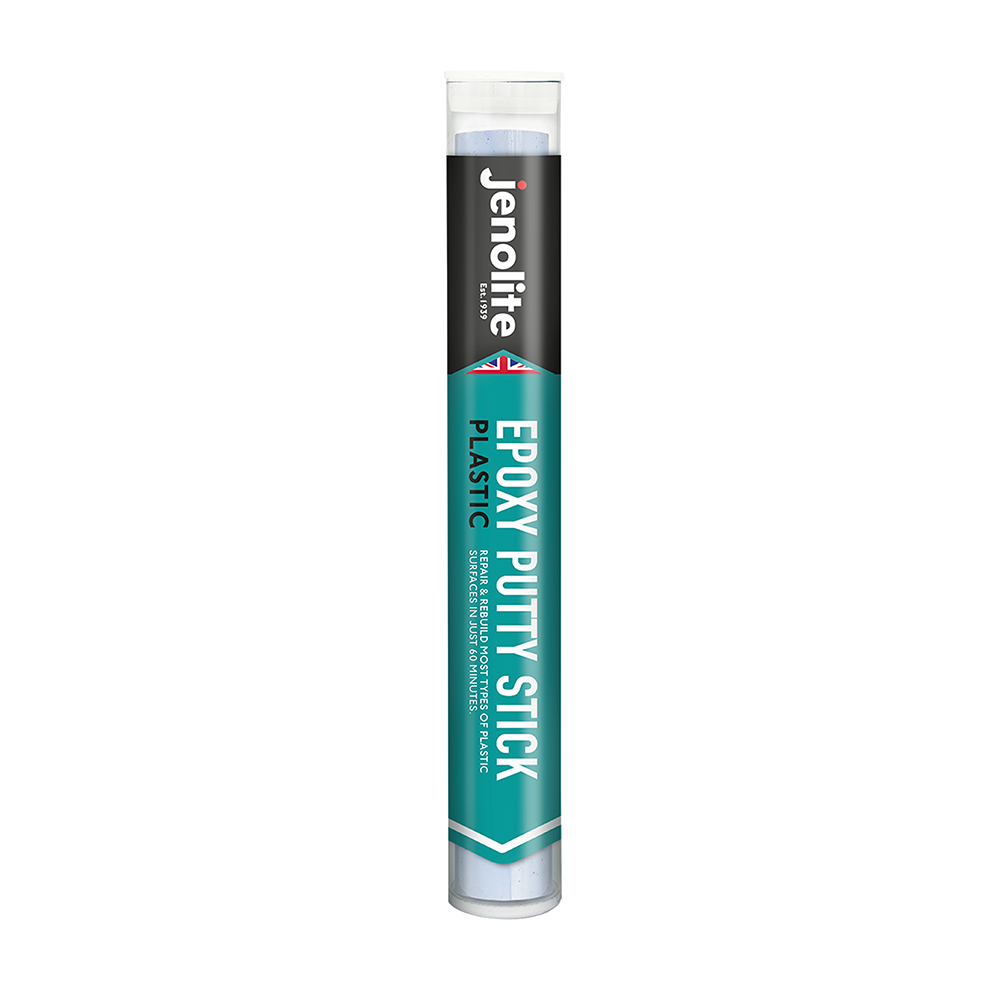
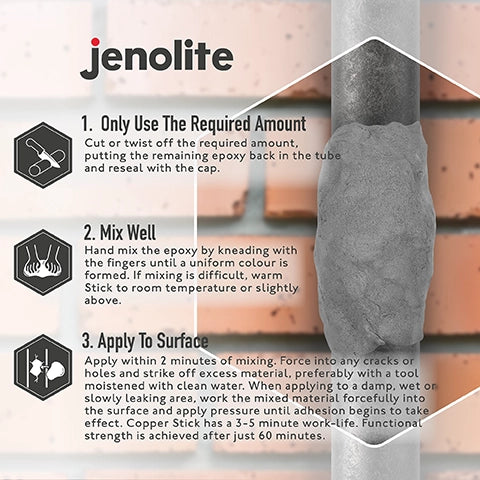
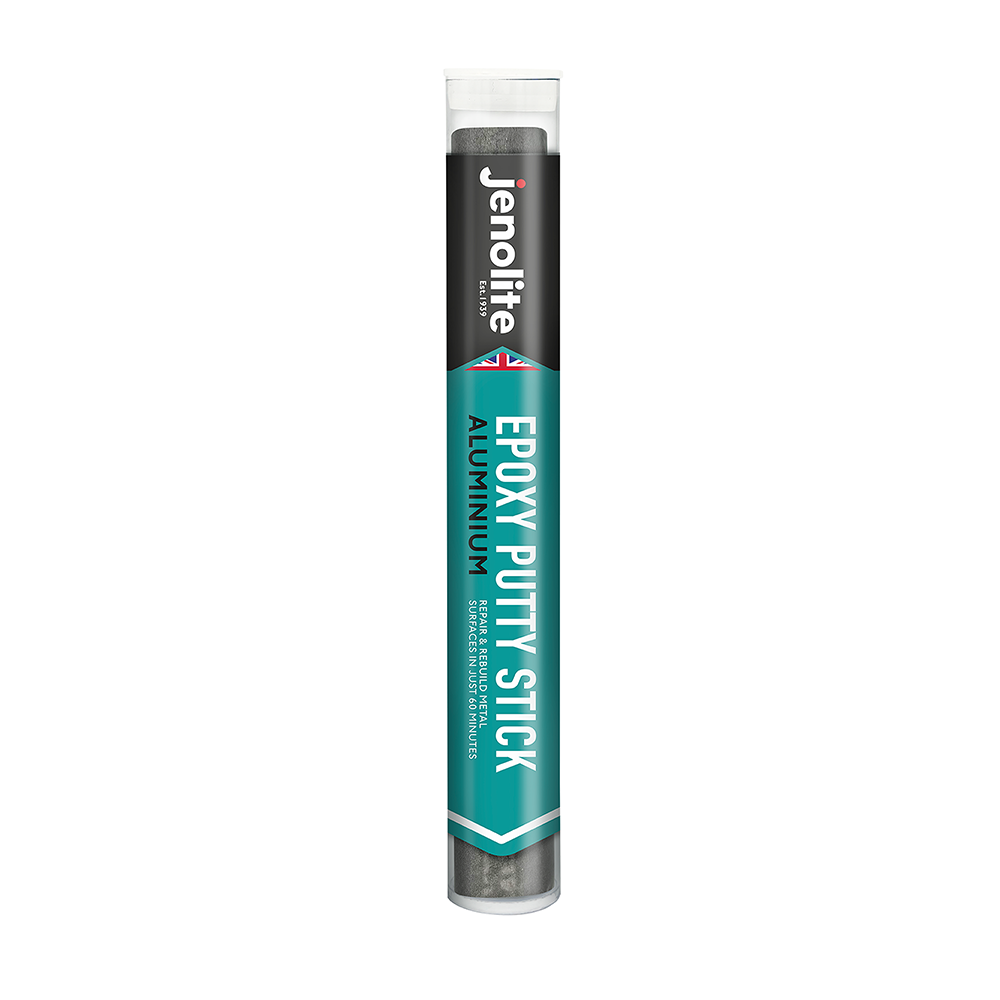
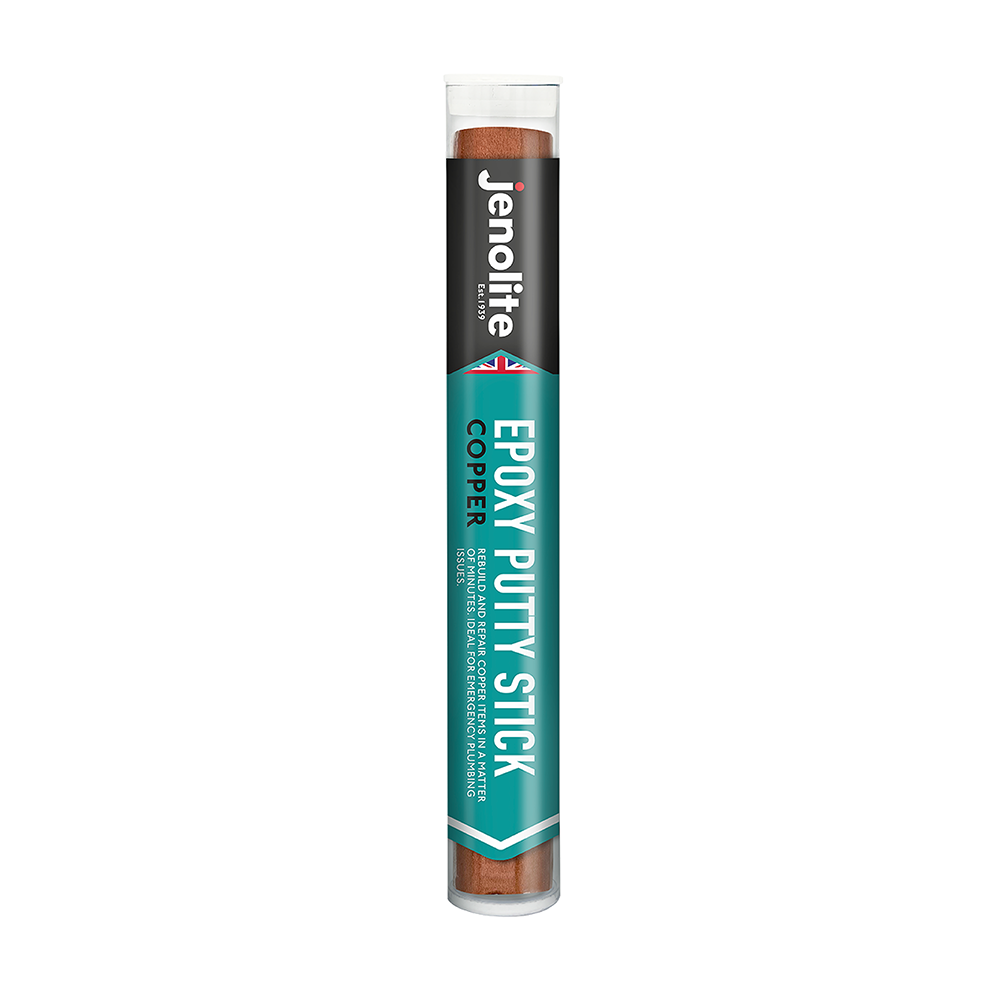
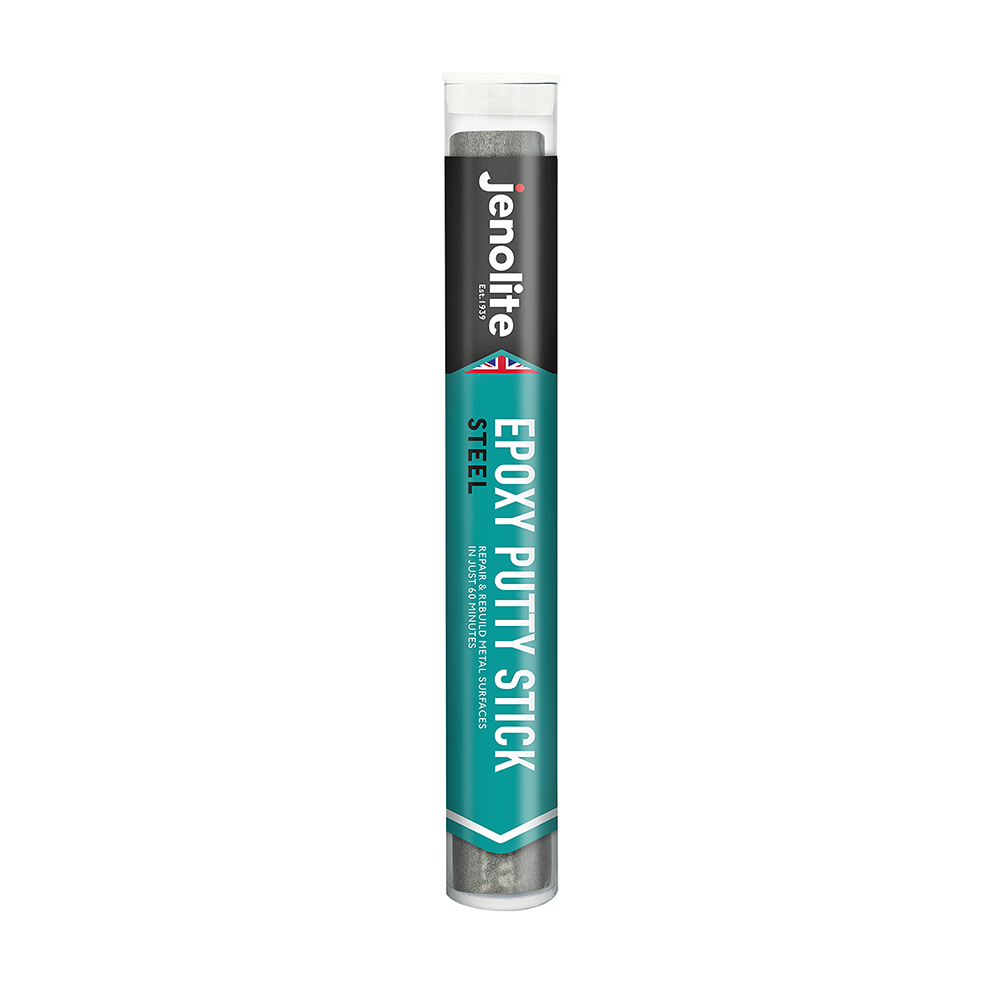
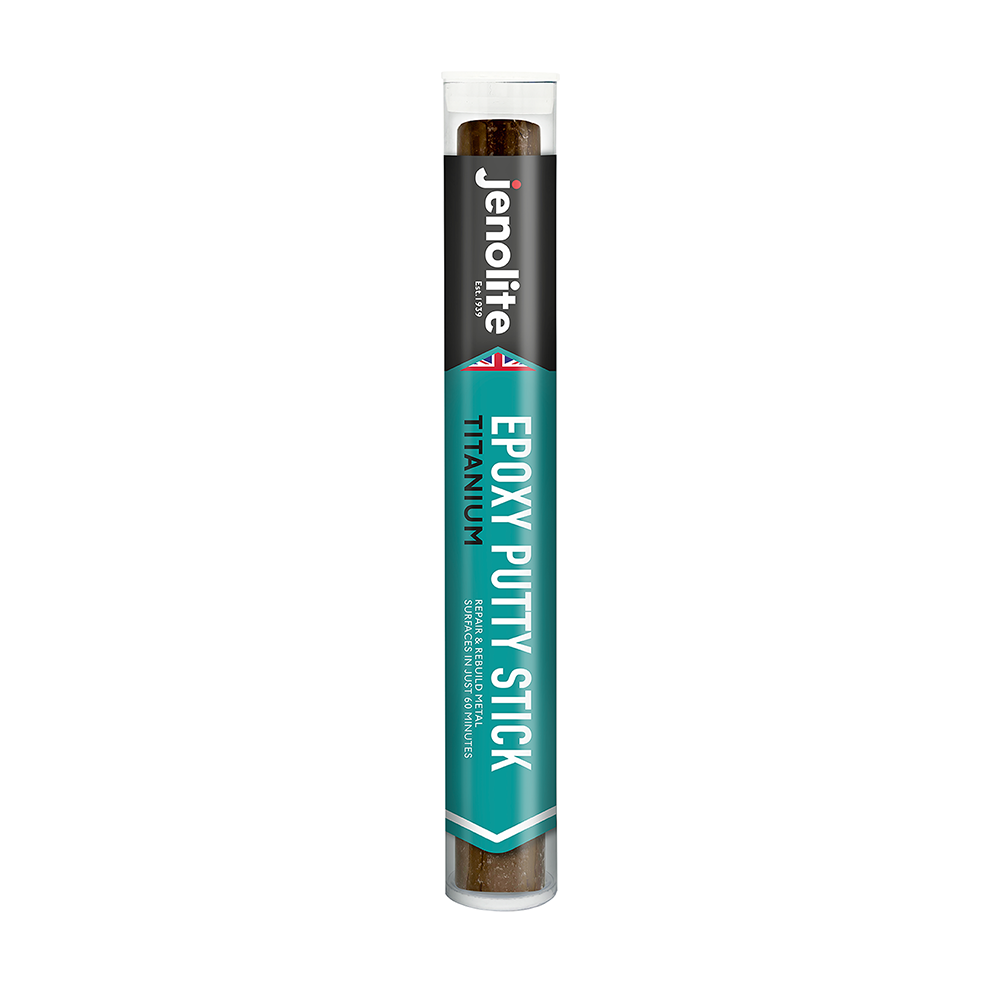
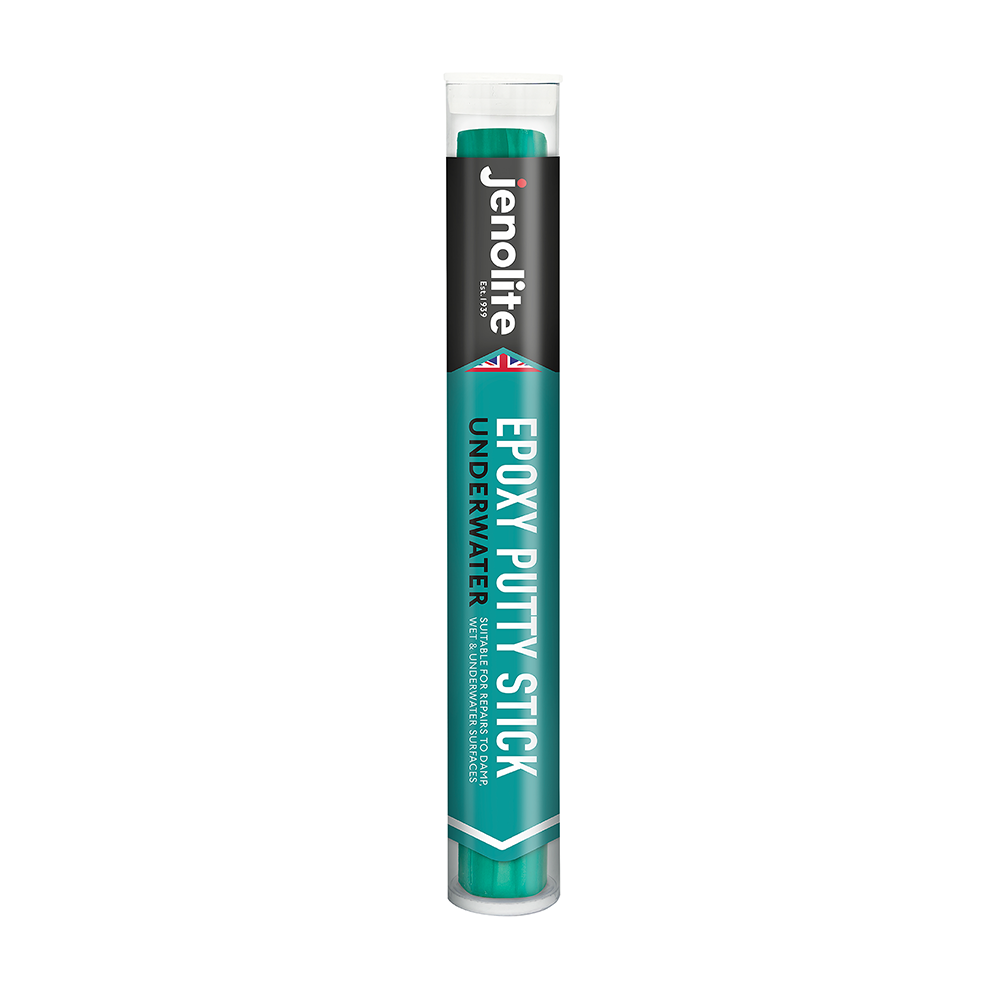
Now that you have a clean block of wood, the next step is to apply the epoxy to the hole. Start by cutting or twisting off the required amount of Jenolite’s wood epoxy putty repair stick, making sure to only use the necessary amount for the size of the hole you are filling.
Hand mix your epoxy by kneading it with your fingers until a uniform colour has been formed. If this is proving to be difficult, you can warm the epoxy stick to room temperature to make it easier to knead. If this is still proving tough, heat the epoxy to slightly above room temperature, and try again.
Next, apply the epoxy to the hole within ten minutes of mixing. Force it into the hole, making sure to completely fill it. Once the epoxy is fully in the hole, strike off any excess either side of the hole with a tool moistened with water, as this will make it easier to get a smooth cut either side. Then simply wait for 60 minutes for full functional strength to be achieved.
This can then be sanded down to achieve the desired finish, and then painted, waxed or varnished to your taste. If the hole you’re filling in is on an exterior door, make sure to take a look at our range of exterior door paint to repaint your door after filling in the hole.

